JHY PCB Blog Hub

Your Source for Expert PCB Design, Manufacturing, and Assembly Insights – Stay Informed with 2025 Trends!

How to Choose the Best Arc MMA Welder?

Choosing the best Arc MMA Welder starts with the work in front of you, not the biggest amperage number on a product label. A compact inverter may suit repairs on a farm gate or workshop bench, while heavier steel and longer passes can demand more output and a stronger duty cycle. Electrode size matters. So does the power supply available at your worksite.

Welding educator Jody Collier’s practical teaching can be paraphrased as a useful rule: match the equipment and technique to the job. This is a paraphrase, not a verified direct quotation. That distinction matters. Buying advice should be clear about what is sourced and what is interpretation.

A good comparison should examine amperage range, duty cycle, compatible electrodes, input voltage, portability, and overload protection. Picture carrying the welder up a narrow stairwell, then running it from a limited household circuit. Those details can change the right choice. Small differences matter.

No single machine fits every user. A beginner may value simple controls and reliable arc starts; an experienced fabricator may prioritize stable output across demanding tasks. Price alone is a poor guide. And specifications need context: duty-cycle ratings, for example, depend on stated conditions and should be checked in the manufacturer’s manual. This guide will compare practical features, explain common trade-offs, and flag the questions worth asking before purchase. Some advice is easy to simplify too much. The best choice still depends on your actual projects, available power, and comfort with the process.
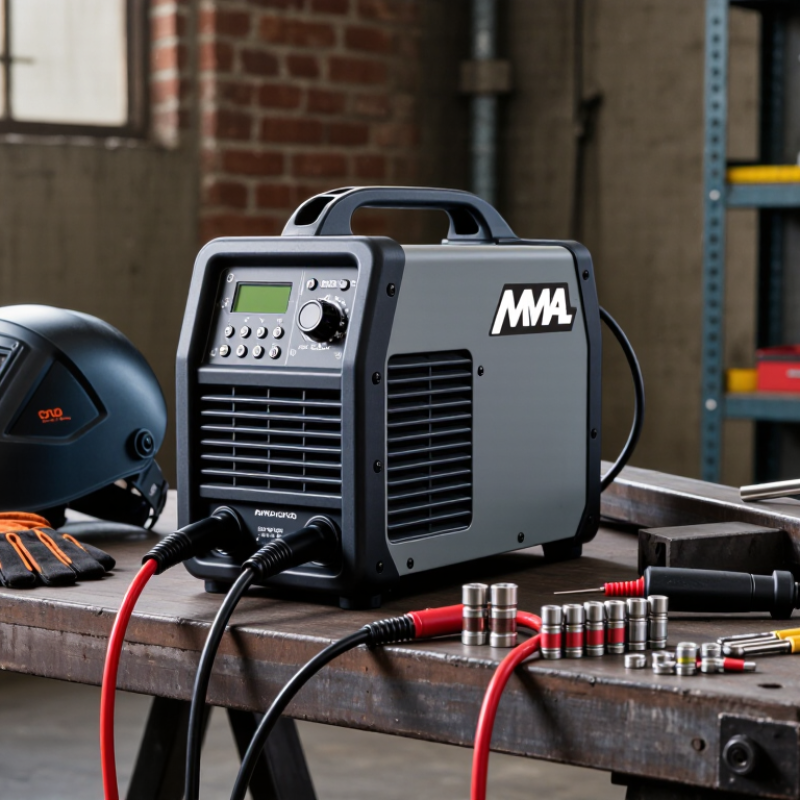
How to Choose the Best Arc MMA Welder?

Understand How Arc MMA Welding Works and Identify Your Needs

Arc MMA welding creates heat through an electric arc between a coated electrode and the workpiece. The coating produces shielding gases and a layer of slag as the electrode melts. After each pass, that slag must be chipped away. It can be messy. The process is useful outdoors because it does not rely on a separate shielding-gas cylinder, though wind can still affect the arc and weld quality.

Start by identifying the work you actually expect to do. Thin sheet metal needs different control from thick steel plate, and frequent repairs in awkward positions call for a manageable, portable machine. Check which electrode diameters and current ranges suit your materials. Also confirm that the machine’s power supply matches the outlet available at your worksite. A large current rating is not automatically better. I would compare duty cycle too; a welder that needs frequent cooling can slow a long repair.

Consider your experience level and working conditions. Stable current adjustment can make it easier to maintain a consistent arc, but practice still matters. Try a few test beads on scrap metal and inspect their shape, penetration, and slag removal. Wear a suitable welding helmet, gloves, and protective clothing, and provide good ventilation. One detail is easy to overlook: cables that are too short can make positioning awkward. No specification sheet tells the whole story.

Match Welding Current and Electrode Range to Your Projects

How to Choose the Best Arc MMA Welder?
Match Welding Current and Electrode Range to Your Projects

Choose a welder around the electrodes and metal thickness you actually use. TWI’s MMA welding guidance identifies electrode diameter, type, and welding position as key factors in setting current. As a practical reference, common technical charts put 2.5 mm electrodes near 60–100 A and 3.2 mm electrodes near 90–140 A. These are working ranges, not promises; check the electrode maker’s data sheet before striking an arc.

A machine rated for 160 A may suit light repairs and general workshop jobs, but its minimum current matters too. Thin sheet can burn through when the lowest setting is still too high. For a 2.5 mm rod, test around 75–85 A on scrap of similar thickness, then adjust in small steps. Listen for a steady crackle. Watch the bead edges. Too much current can undercut the joint or make the rod stick less often, but it also increases spatter.

Check the duty cycle at the current you plan to use. AWS welding references describe duty cycle as the operating time within a ten-minute period; a 20% rating means roughly two minutes of welding, followed by cooling time. That matters during repeated repair passes. I would not choose by peak amps alone. It is an easy detail to miss. The right setting still depends on fit-up, electrode coating, and your hand speed.

Compare Power Supply, Duty Cycle, and Portability

How to Choose the Best Arc MMA Welder?
Compare Power Supply, Duty Cycle, and Portability

Start with the power supply available in your workspace. A compact 120 V unit may suit light repairs and thin steel, while thicker material often needs more current and a suitable 240 V outlet. Check the welder’s input requirements before buying. An extension cord that is too long or undersized can cause voltage drop and frustrating, unstable arcs. Match the machine’s output range to the electrodes and metal thickness you actually use.

Tips: Check the rating plate and manual. Compare duty cycles at the same amperage; a 20% rating means about two minutes of welding in a ten-minute period. Leave time for cooling. Don’t judge by peak amps alone.

Portability matters when the job moves from a bench to a gate or outdoor repair. Compare the machine’s weight, handle, cable length, and storage for leads. A lighter welder is easier to carry, but very short cables can make awkward positions harder. Duty-cycle figures also need context: a unit may run longer at lower amperage than at its maximum setting. That’s easy to overlook. Consider the work pattern, too—short tack welds differ from long seams. If possible, test the setup with the electrode size and material you plan to use; specifications help, but your actual work can reveal a mismatch.

Assess Controls, Safety Features, and Included Accessories

How to Choose the Best Arc MMA Welder?

Assess Controls, Safety Features, and Included Accessories

A welder should make its settings easy to understand, even with gloves on. Check that the current dial moves smoothly and has clear markings. A steady adjustment range helps match output to electrode size and metal thickness. Hot-start assistance can make ignition easier, while anti-stick control may reduce electrodes bonding to the workpiece. These features are useful, but they cannot replace practice. Small detail, big difference.

Look closely at the safety provisions. Thermal overload protection can help prevent damage when the machine gets too hot. A cooling fan and clear warning labels are practical signs, too. Confirm that the work area has proper ventilation, and use a correctly rated helmet, gloves, and protective clothing. The welder’s manual should explain grounding and safe setup in plain language. If it does not, pause and get qualified guidance rather than guessing.

Included accessories can save a separate shopping trip, but inspect them rather than counting them. Check the electrode holder and earth clamp for firm grips, and look for cables long enough to reach your work without stretching. A wire brush and chipping hammer are handy for cleaning welds. Cable quality matters. I would not choose a machine based only on a long accessory list; a loose clamp or awkward lead can make daily work frustrating. Some kits still need better gloves or a suitable helmet, so check what is actually in the box.

How to Choose the Best Arc MMA Welder? - Assess Controls, Safety Features, and Included Accessories

Selection Factor What to Look For Why It Matters Practical Check Before Buying
Output current and electrode range Choose an output range that suits the electrode diameters and material thickness you expect to weld. Many general-purpose machines offer roughly 20–160 A or more, but usable output depends on the power supply. Different electrodes require different current settings; a machine with insufficient output may not run the electrodes needed for a job. Compare the machine’s stated current range with the electrode manufacturer’s recommended amperage and the welder’s input-voltage requirements.
Current adjustment Look for a clearly marked amperage dial or digital control with a useful adjustment range. Accurate, accessible adjustment helps match the arc to the electrode, joint, and workpiece. Check whether settings are easy to read and adjust while wearing welding gloves.
Arc-start and arc-control functions Hot start can briefly increase current during ignition; arc force can help maintain the arc; anti-stick can reduce current if the electrode sticks. These functions can make starting and maintaining an MMA (stick) arc easier, especially for less experienced users. Their behavior varies by machine. Confirm which functions are included, whether they can be adjusted, and whether the manual explains their operation.
Input power and voltage Check whether the welder is designed for the available supply, such as 120 V, 230 V, or dual-voltage operation. Input voltage and circuit capacity affect the available output and where the machine can be used. Verify the required circuit, plug, and input current in the specifications. Do not assume an adapter makes an unsuitable circuit safe.
Duty cycle Review the rated duty cycle at the stated welding current. A 20% duty cycle on a 10-minute basis, for example, means 2 minutes of welding followed by 8 minutes of cooling at that rating. A higher duty cycle at the current you need can support longer welding periods with fewer cooling breaks. Compare duty-cycle figures at the same current and rating standard; a figure at lower amperage is not directly comparable.
Thermal protection and cooling Look for thermal-overload protection, clear warning indicators, and unobstructed cooling vents. Thermal protection helps guard the machine against overheating, but it does not replace following the duty-cycle limits. Check the manual’s ventilation requirements and keep the air intake and exhaust clear during use.
Electrical safety features Review protective features such as input overcurrent protection and, where available, a voltage-reduction device (VRD). A VRD reduces open-circuit voltage under specified conditions; it is not a substitute for safe work practices or appropriate protective equipment. Check the machine documentation for the feature’s availability, operating conditions, and applicable local electrical requirements.
Polarity and cable connections Check for clearly identified positive and negative terminals and suitable electrode-holder and work-clamp connections. Electrode polarity requirements vary by electrode type, so correct connections are important for the welding procedure. Confirm the manual shows how to connect the holder and work lead for the electrodes you plan to use.
Included accessories Common package items may include an electrode holder, work clamp, cables, input lead, and basic accessories; package contents vary. Missing or undersized leads and clamps can add cost and may limit practical use. Check the contents list, cable lengths and ratings, connector type, and whether a welding helmet, gloves, and other protective equipment must be purchased separately.
Portability and enclosure Consider machine weight, a secure carrying handle, cable storage, and protection suited to the work environment. Compact inverter machines are often easier to transport, while job-site dust, moisture, and impact can affect equipment suitability. Use the manufacturer’s stated environmental limits and protection rating; do not treat a portable design as weatherproof.
Manual and support information Look for a readable manual with setup instructions, electrode guidance, duty-cycle information, and troubleshooting steps. Clear documentation supports safer setup and helps users operate the machine within its limits. Review the manual before purchase if available, and confirm that service and warranty information is provided.

Note: Specifications and included accessories differ between models. Always confirm the product documentation, local electrical requirements, and suitable personal protective equipment before welding.

Check Build Quality, Certifications, Warranty, and Support

When comparing arc MMA welders, inspect the casing, switches, cable sockets, and cooling vents—not just the advertised amperage. A sturdy metal enclosure and firm connections can better tolerate workshop knocks and repeated cable movement. Check whether the duty-cycle rating suits your work; a compact unit may need frequent cooling breaks at higher output. Ask for the rating conditions, since input voltage and ambient temperature affect real performance.

Look for documentation against IEC 60974-1, which covers safety and performance requirements for arc-welding equipment. Also check what any certification actually applies to: a company’s quality-management certificate does not certify each welder. The ISO Survey 2022 recorded about 1.27 million ISO 9001 certificates worldwide, but that figure measures certified management systems, not product reliability. Read warranty terms for coverage length, excluded consumables, repair locations, and shipping costs. Confirm that support can provide wiring diagrams and replacement-part availability.

Tips: Before buying, request the manual and warranty in writing. Check that the serial label is readable, then ask support how repairs are handled. A neat finish helps, but it proves little on its own. A detail I would still verify is how quickly parts can reach your workshop.

Scroll to Top